Applications built with Angular are not Search Engine friendly by default. If you view the source of the Angular application you won't find any content there. So, our application pages won't appear in the search engine results. It may or may not be the behaviour you want. So, If you don't want the search engines to crawl through your content, you're good to go already. But, If there's a requirement like you have created a blog in Angular then you might want to make the Angular application SEO friendly.
Let's see how we can add SEO to our Angular app easily using nestjs by following these steps.
Creating Angular App
Make sure you have node and angular-cli_ installed on you system.
To create new application you can run the following command,
ng new ng-nest-universal
Would you like to add Angular routing? (y/N) y
Which stylesheet format would you like to use? SCSS
- select
yfor routing - select
.scssfor styles
Running Angular App
We can change the directory to our newly created project and run the following command,
ng serve --open
Here, --open will open the project directly in the browser. Otherewise, we have to manully open the url.
Alternatively, you can use the following shorthand command too,
ng s -o
Here, s stands for serve & -o flag stands for open.
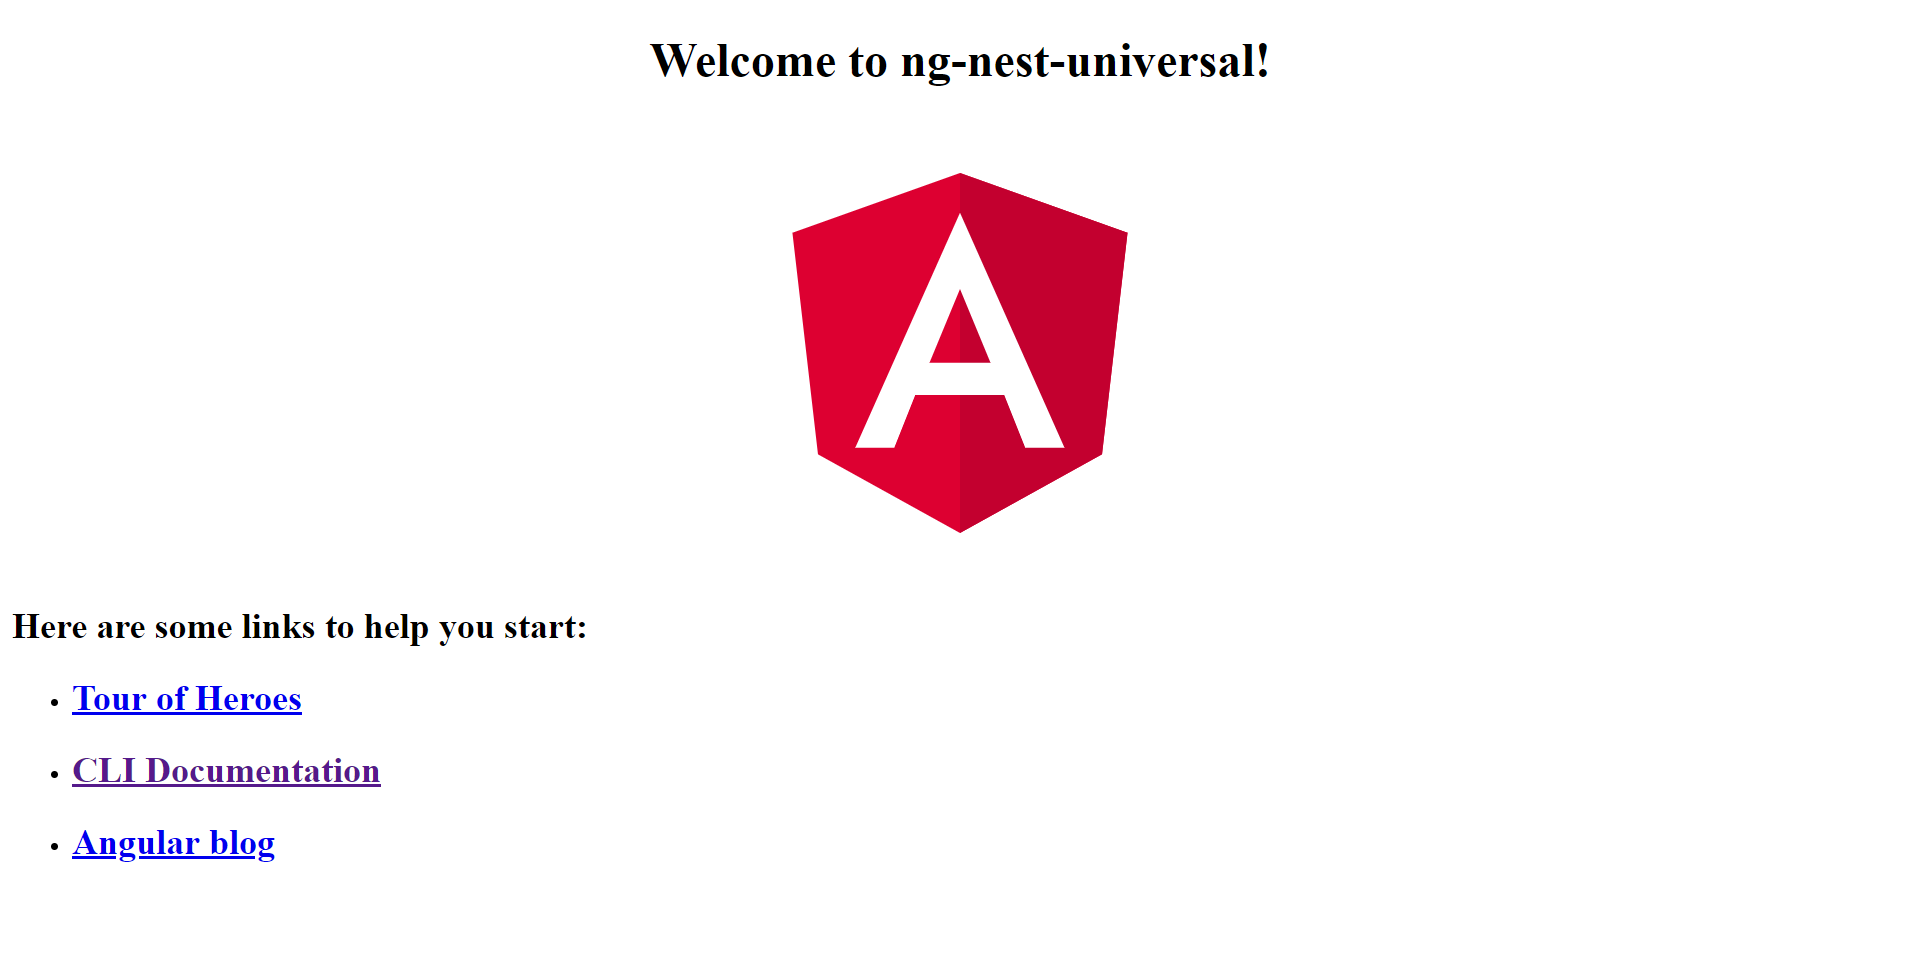
After running this command, the output will look something like this.
If we take a look at the source code by pressing Ctrl+U on windows or right clicking the application and click view source, we can see the following output.
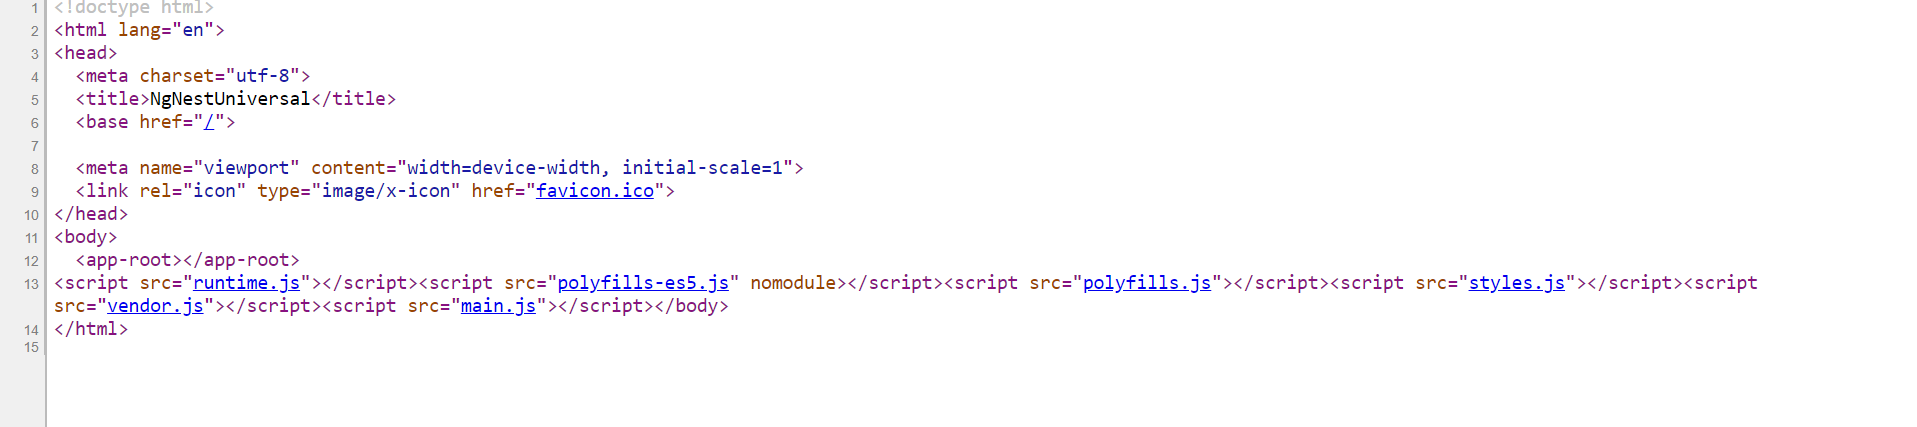
Here, in the view source page we can see, inspite of we have some content on the page, we still don't see any of this content in the source code.
Now let's see how can we fix it, so that the content will appear in the view source, which will make the app search engine friendly.
Adding @nestjs/ng-universal
With @nestjs/ng-universal, it is very easy to make the app engine friendly. We just need to run the following schematics command and it will take care of the rest.
ng add @nestjs/ng-universal
This schematic will install the npm packages and then will ask about the name of the application
What is the name of your application? ng-nest-universal
After that, It will create the server files. Our app should be able to now run against the server.
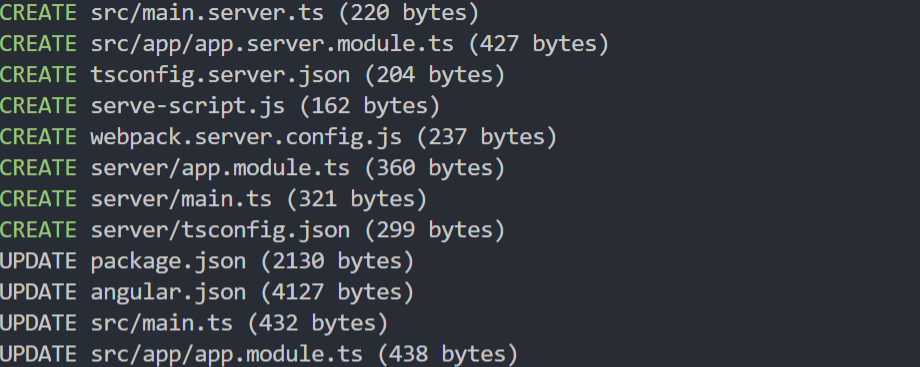
Following is the list of files the schematic command will create/update
Now that we have installed @nestjs/ng-universal in our Angular app. Now we can run the following command to serve the application,
npm run serve
After running this command, we can run our application on port 4000(http://localhost:4000/). But if we view the source again, the output will look like following,
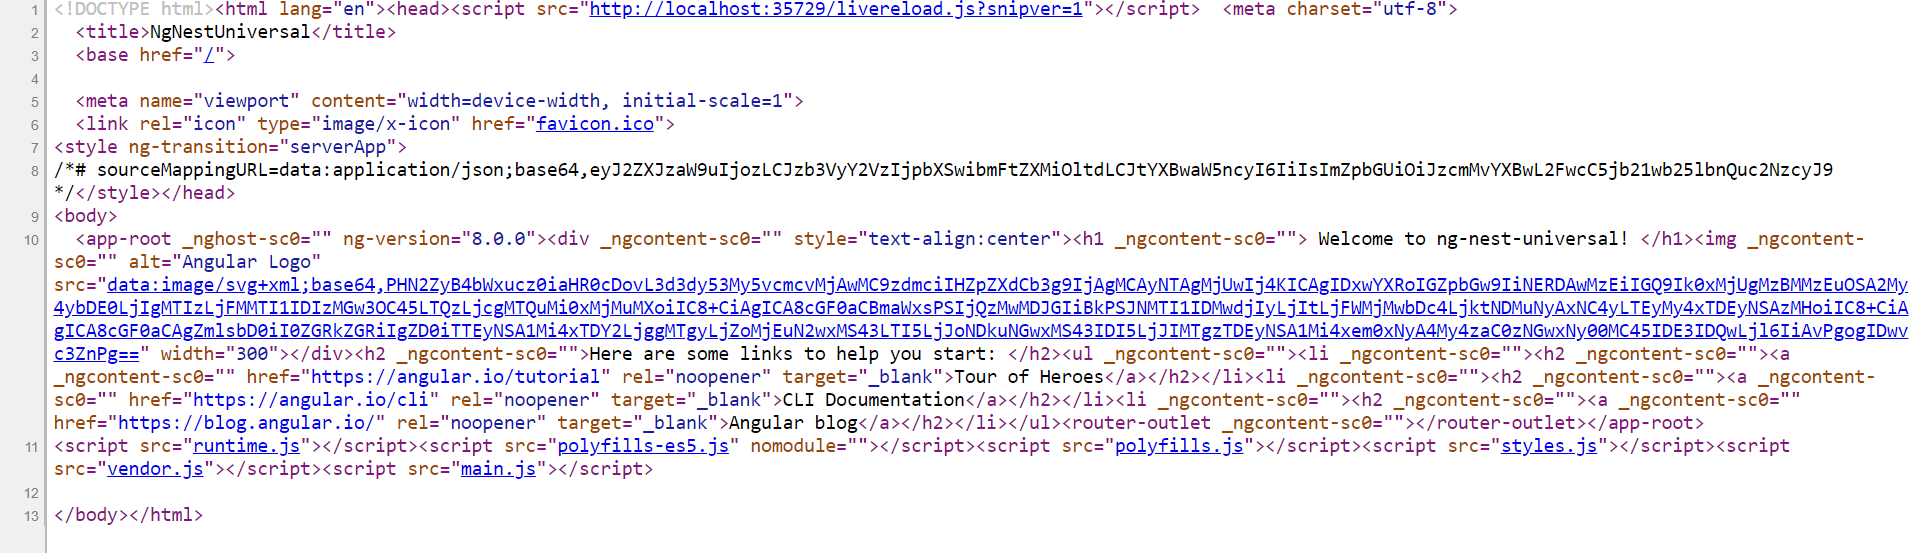
Here, you can see the content of the page that you weren't able to see before and now search engines can crawl through this content.